User Tag List

Thanks Thanks:  0
Likes Likes:  0
Page 1 of 3 123 LastLast
Results 1 to 10 of 26

Thread: Running LED sidelights/fogs - No Errors... lots of pics

  1. #1
    Full Member Leemarksmith's Avatar
    Join Date
    Jun 2008
    Location
    Hanging Heaton
    Post Thanks / Like
    Mentioned
    35 Post(s)
    Tagged
    1 Thread(s)
    Vehicle InfoStats

    Vehicle : Vectra

    Trim : SRi (VXR Styling)

    Engine : Z19DTH (Re-mapped)

    Year : 04

    Mileage : 140k

    Cool Running LED sidelights/fogs - No Errors... lots of pics

    I finally got round to doing a bit of wiring on the car, Rubbish weather so i was "allowed" to play with the vec rather then finishing the Decking

    I'm going to be running standard 501 LED's in my side lights and as Fog lights - But i'll be running them off switches so i can overide the "normal" light switch (it'll make sense later)

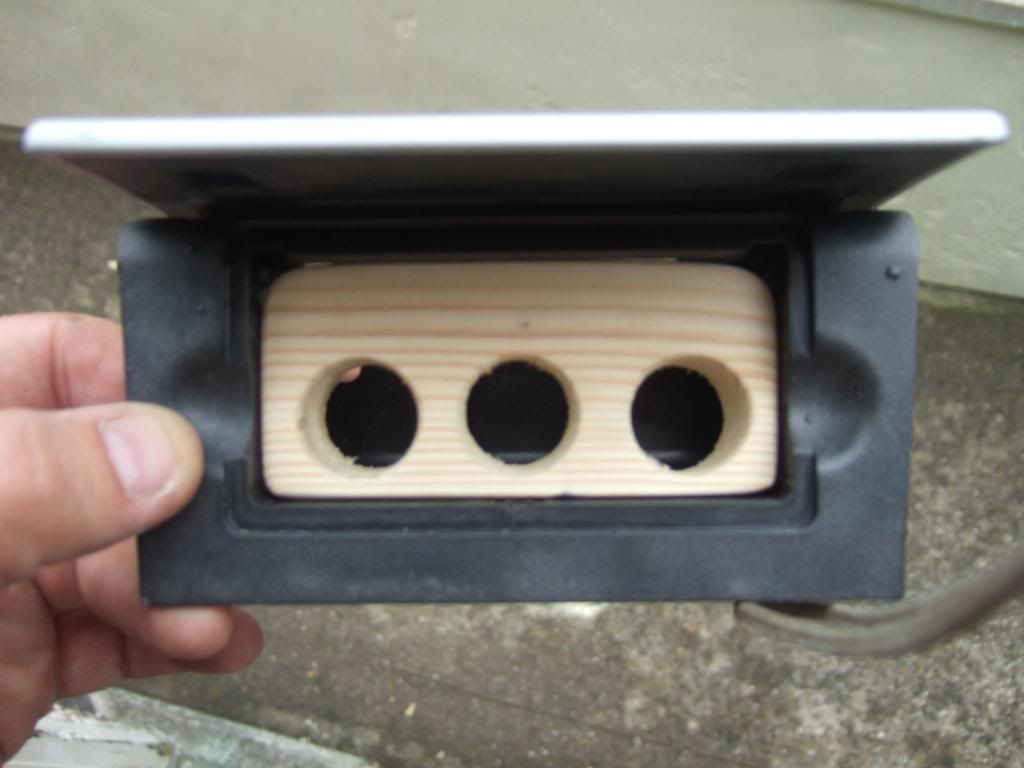
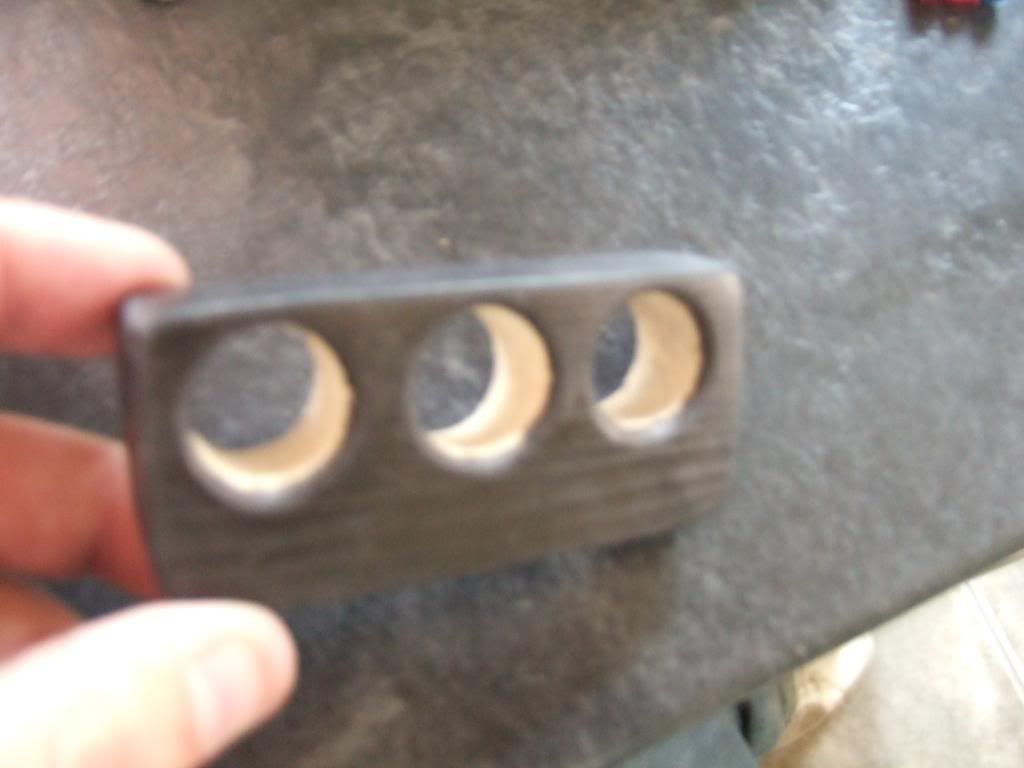
    1st of all I had to find a place for the switches, I tried to knock something up with the removable ashtray part but there so brittle it disintegrated after about a minute - so used a bit of wood instead...


    I've just coloured it in with permanent marker for now, Will probably use a bit of carbon fibre vinyl later, but at the min a like the look of the wood grain coming through


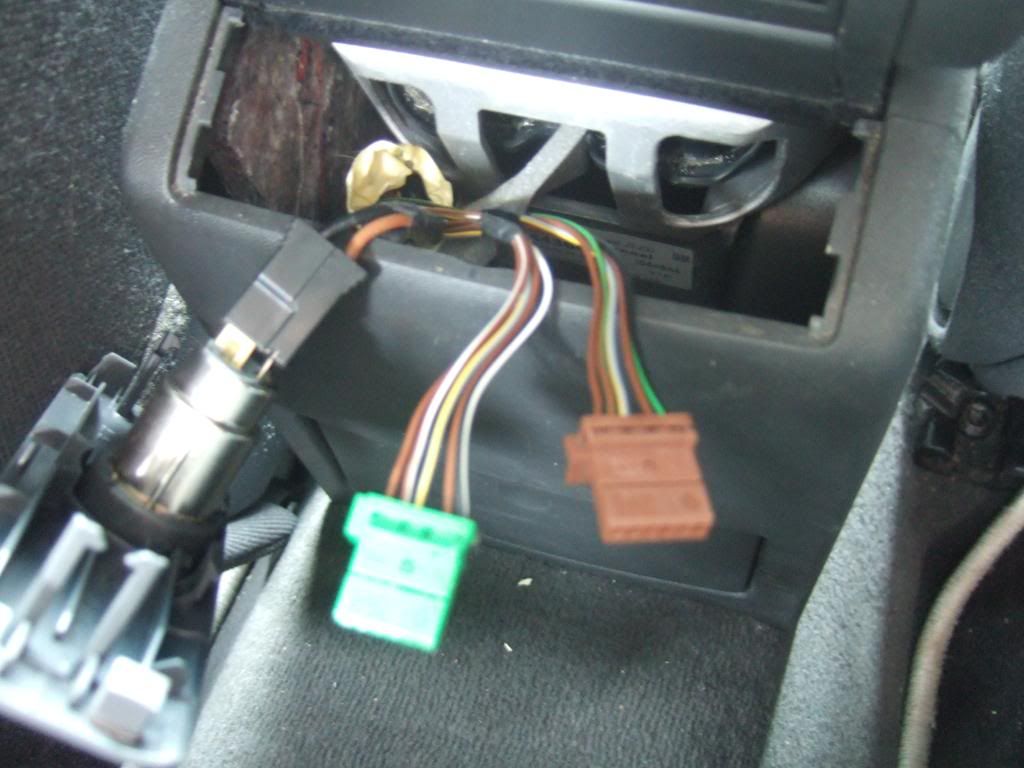
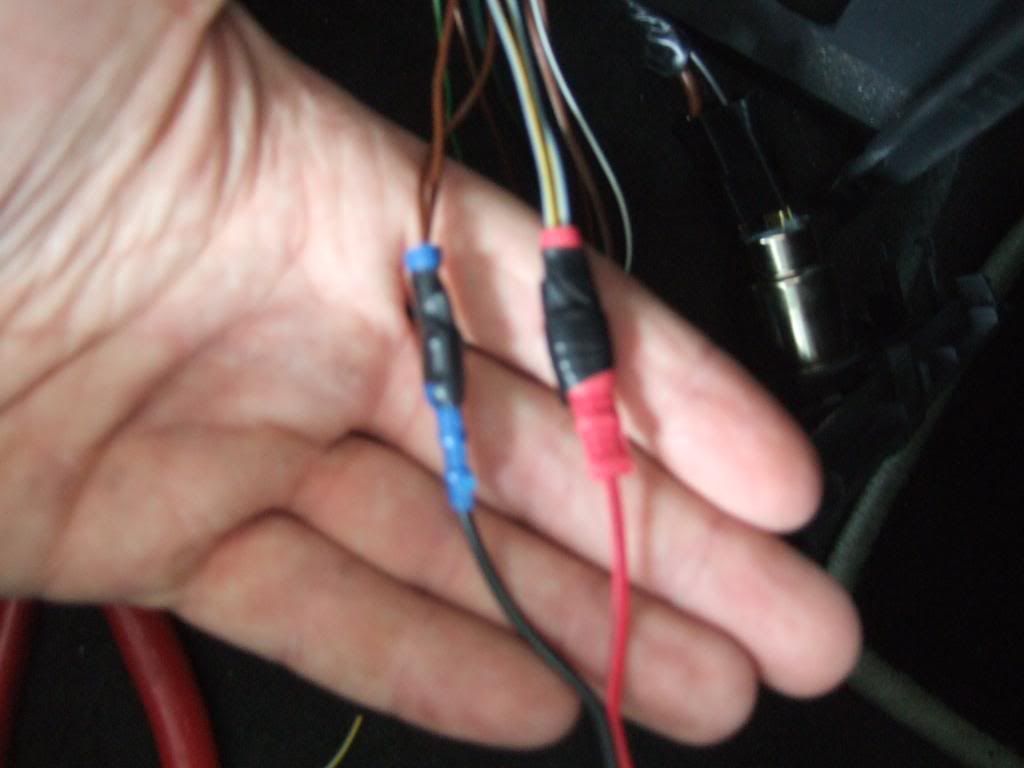
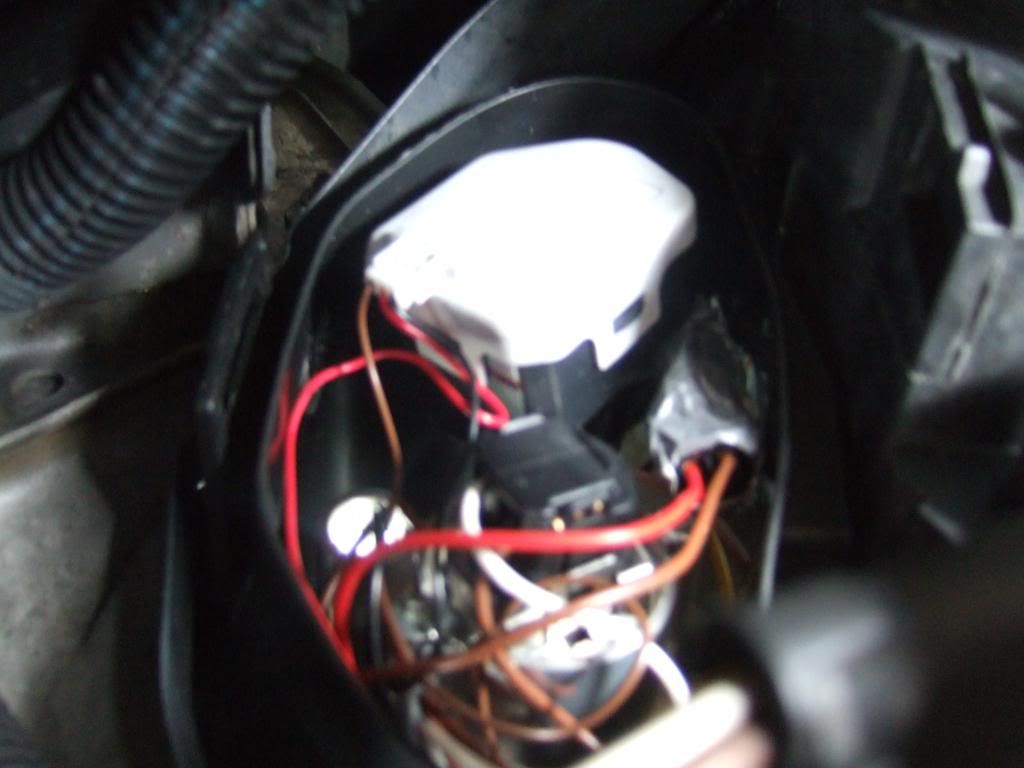
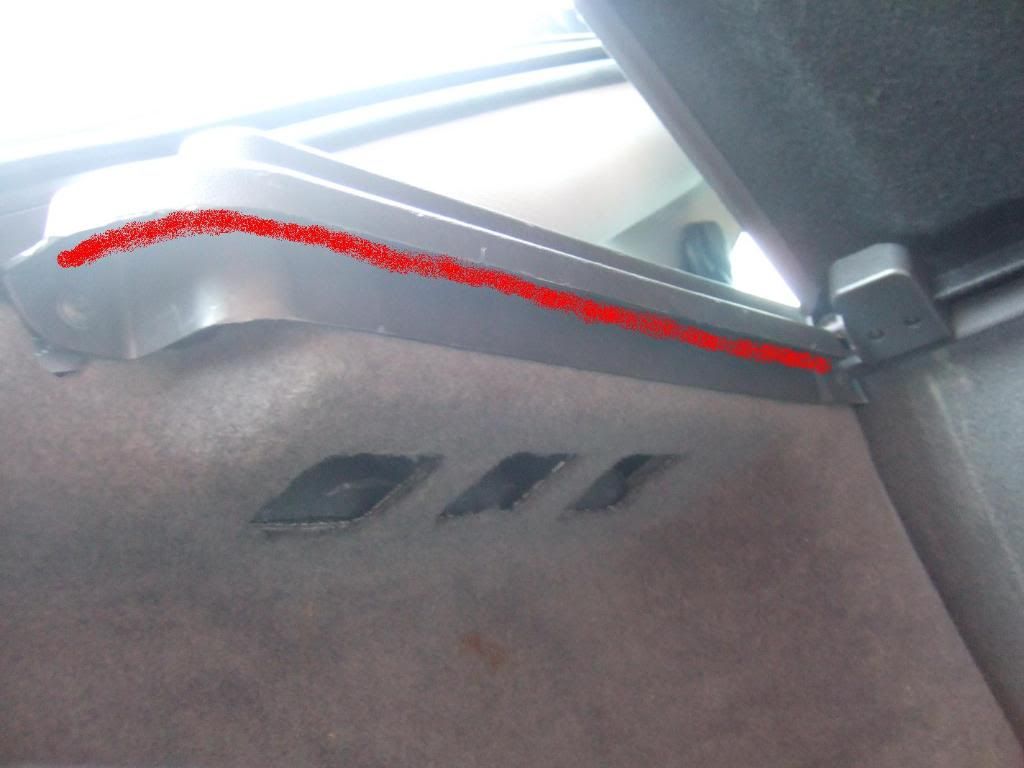
    This is where i have taken the feed from, from the rear heated seat blocks under the rear vents. Using the MIDDLE yellow/grey wire and any of the plain browns (there's 2 each block)... using the illumination wire the LED's will come on with your keyfob when you unlock the car, and come on when you use your normal headlight switch - just like the rest of the dash lights


    If you dont have these blocks (mines an 03 pre face ) you can use the illumination wire from the cig lighter light or ashtray light - I could have used the astray light but i have future plans for that feed

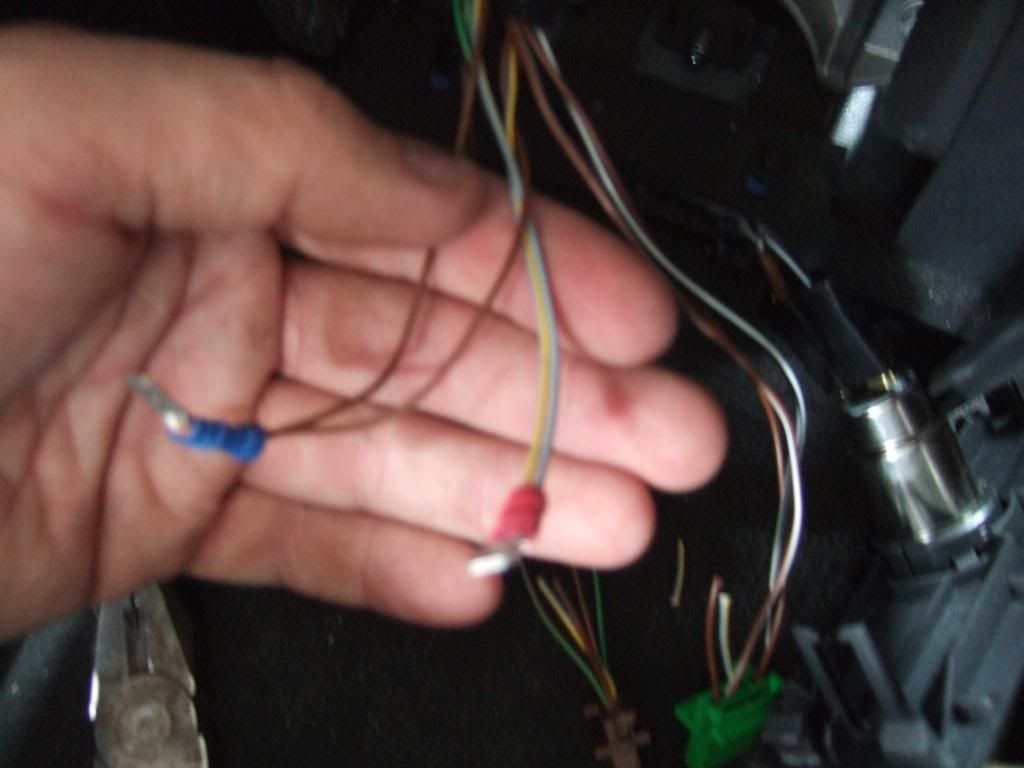
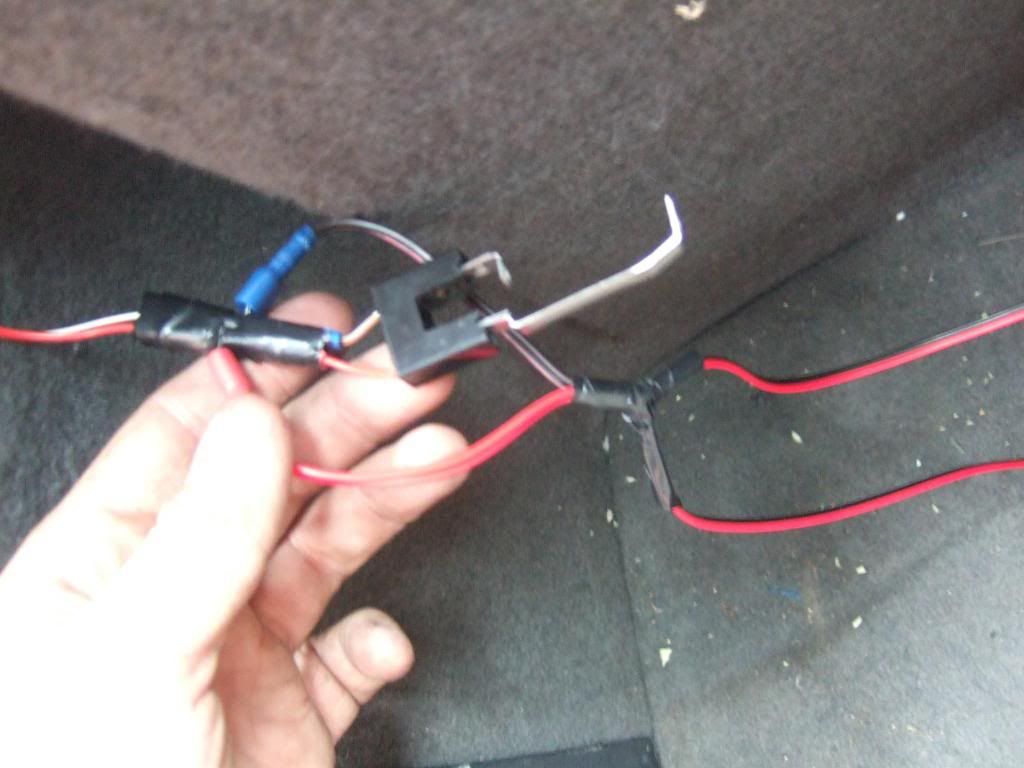
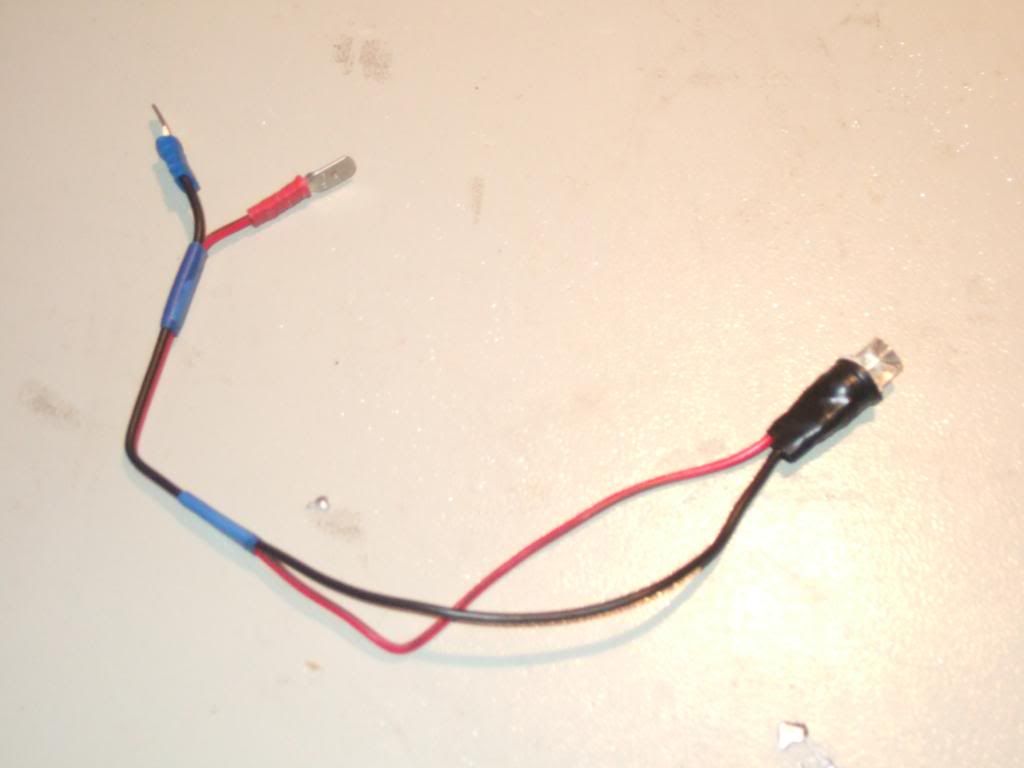
    Probably no need to join together as i did but the wires individually are so thin I thought it couldn't hurt to so the wire connectors had something to crimp tight against.


    Using ordinary speaker wire I joined to the Illumination and earth and ran through to the ashtray underneath the handbrake and gear stick - No need to take the arm rest out, if you pull out the coin tray/drinks holder this bits easier... pull and twist it up from the drivers side 1st...


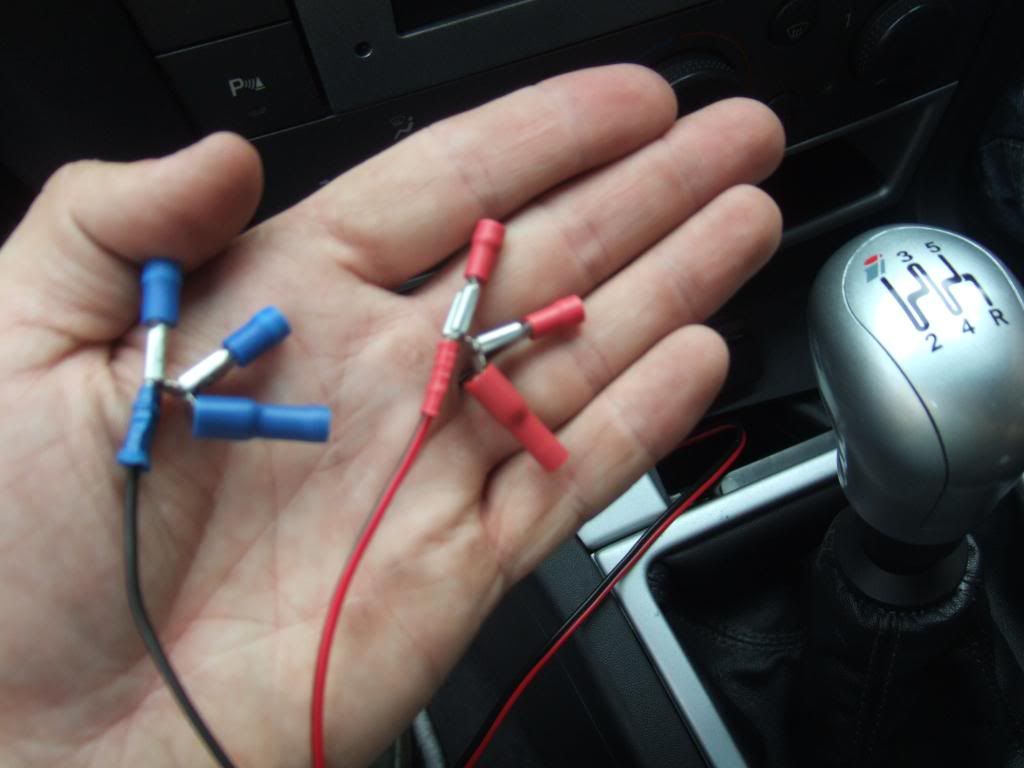
    I'm running 3 switches, ignore this bit if you dont want switches but i want to be able to overide the main headlight switch for M.O.T time etc and can put the normal bulb holders back in place for the side lights... 3 more connectors - 1 for each switch...


    Then more speaker wire needed to connect the power and earth to the switches as they are illuminating ones


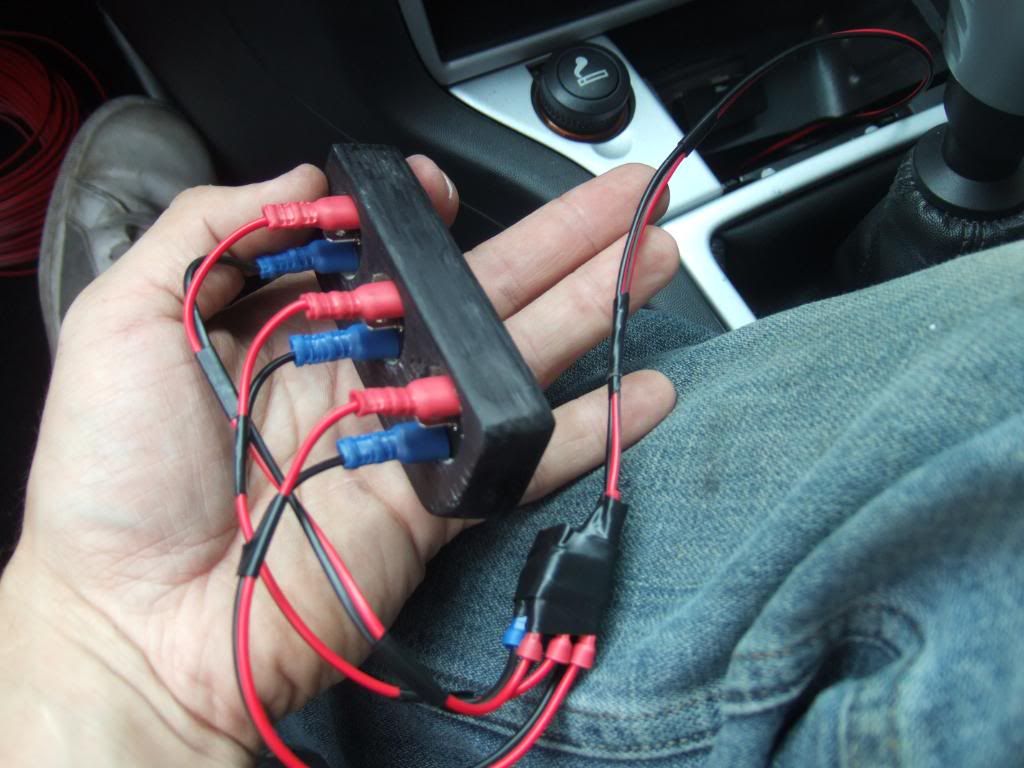
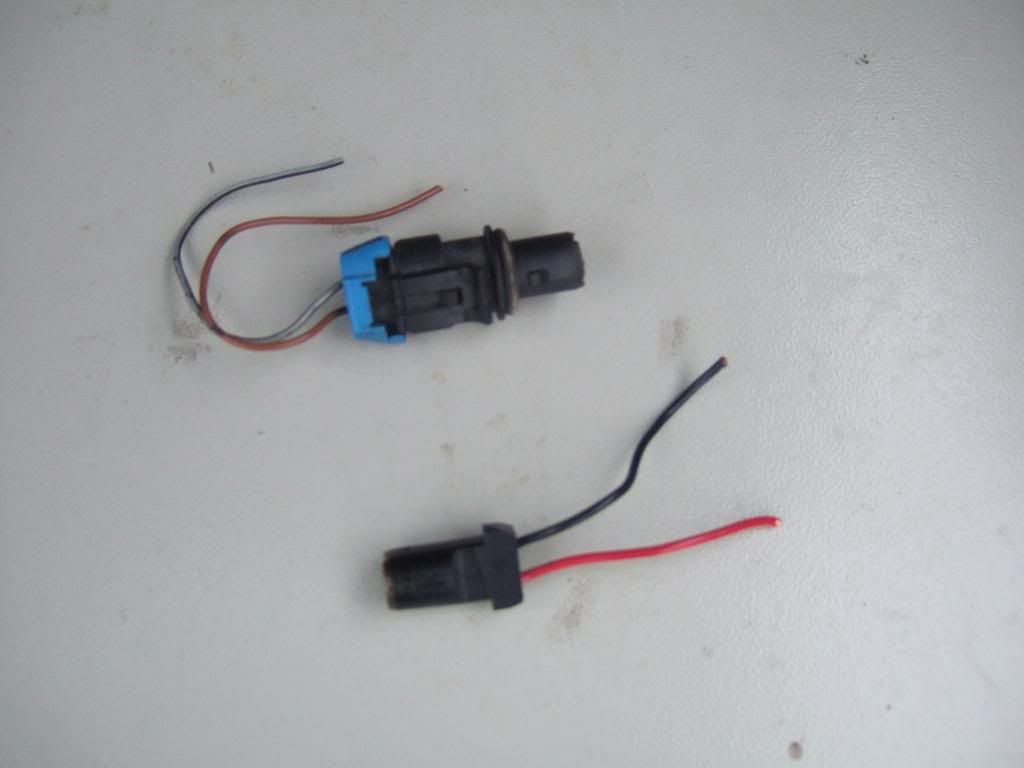
    Then using 2 of the switches, i have taken the power feed for the side lights, and for the fogs... Red wire for the fogs, black wire for the Side lights - if your not fitting switches just run the speaker wires like in pic 4/5 straight though to the engine bay...


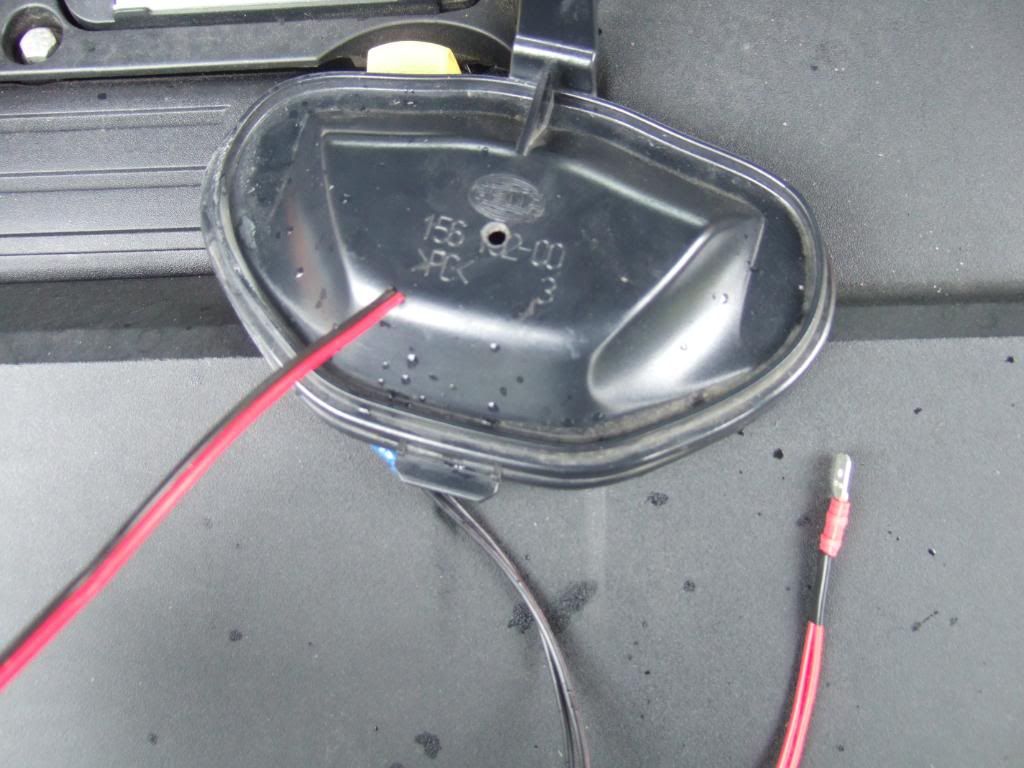
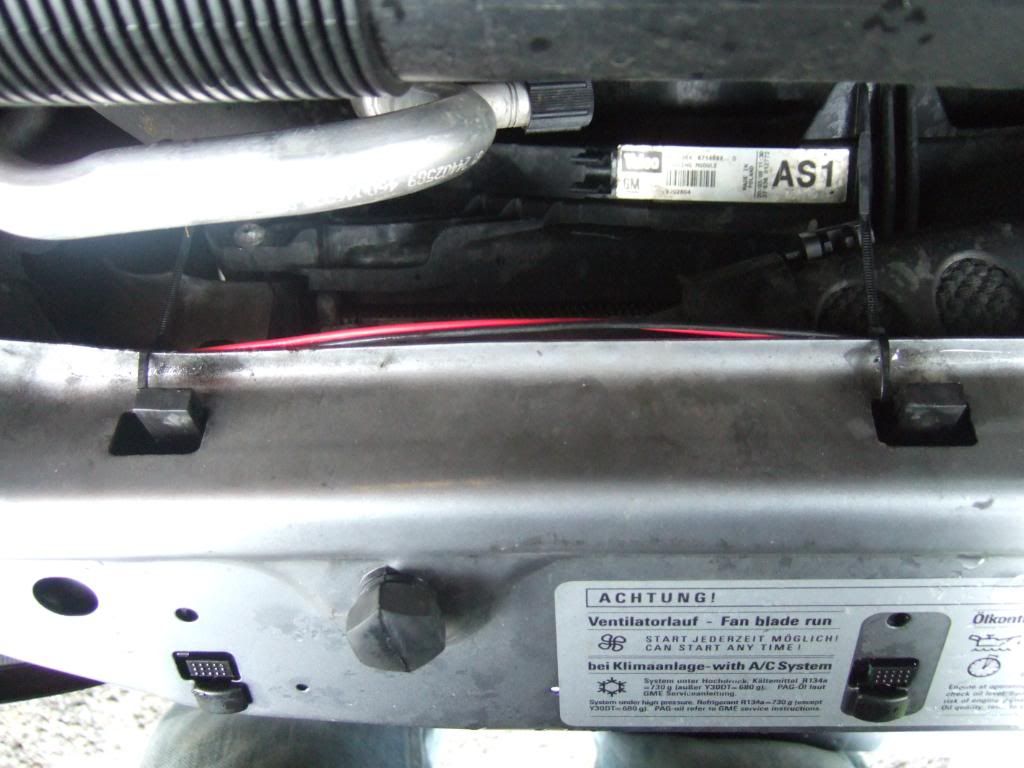
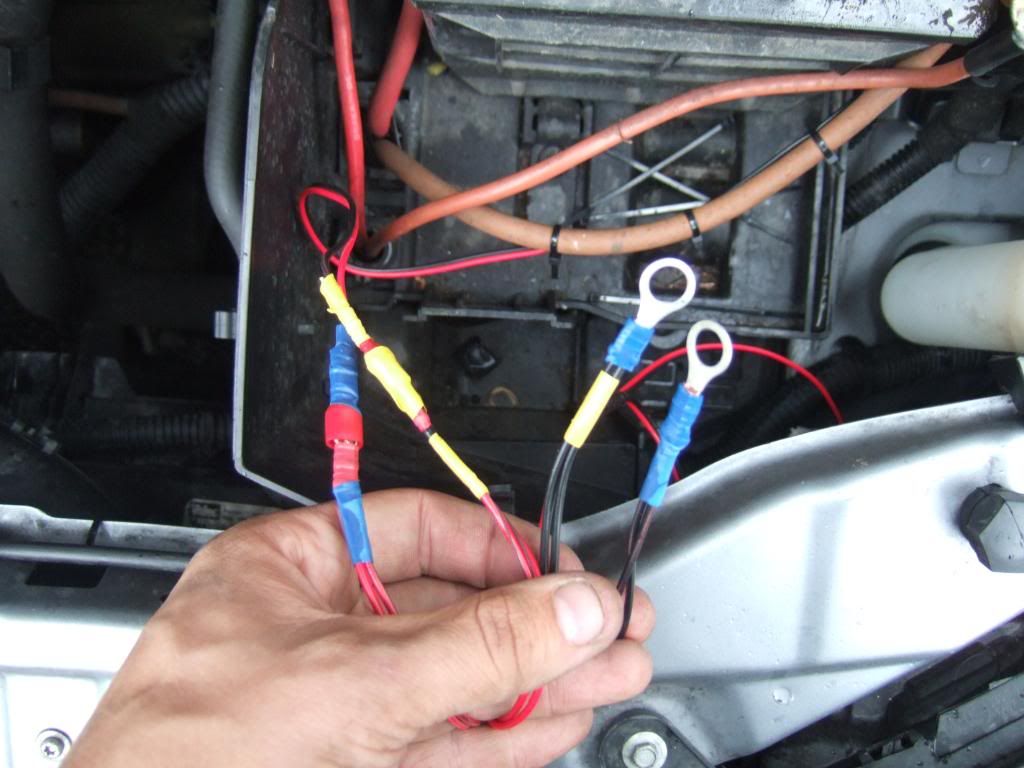
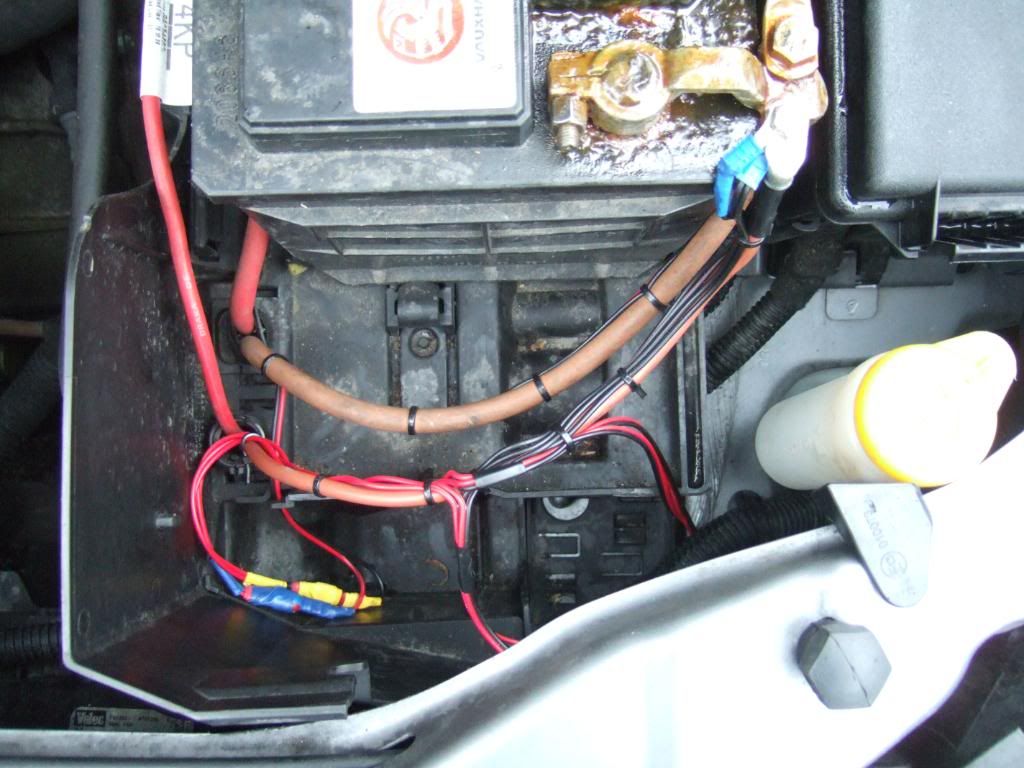
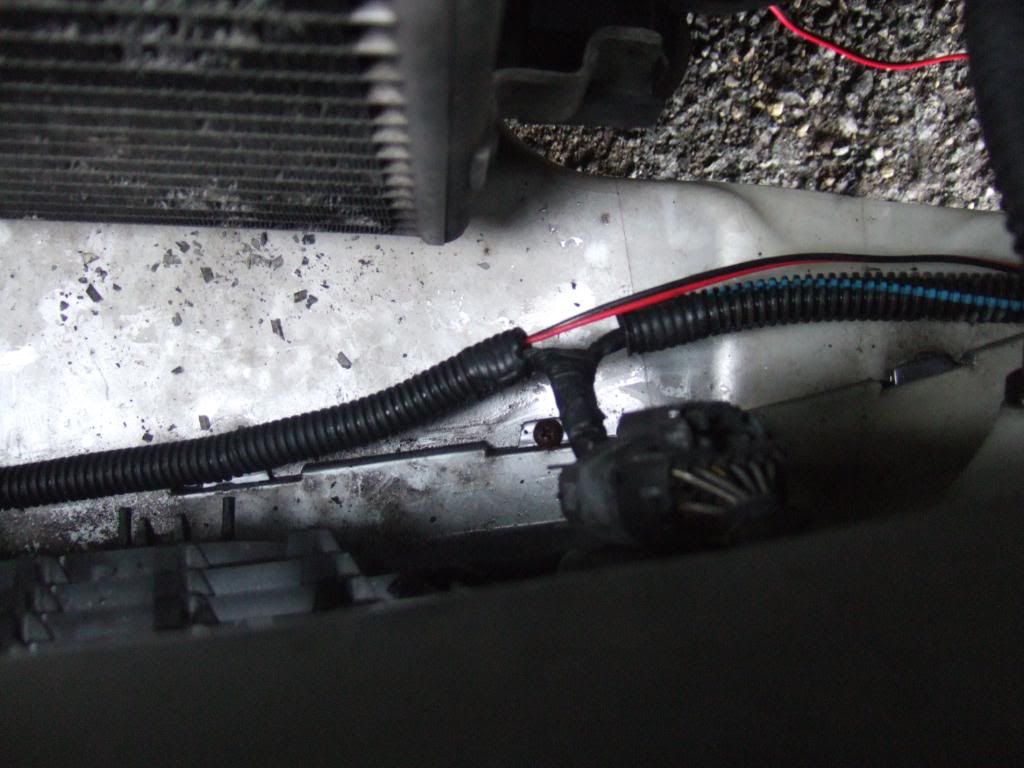
    Remove the glove box using a torx 20?! bit, then feed the 2 wires though the giant rubber gromet in the bulk head. No pic taken but hard to miss... Popped the wires through between the battery tray and fuse box, then neatly capped them and cable tied them to the Negative feed on the battery just to keep it neet and will finish this bit tomo


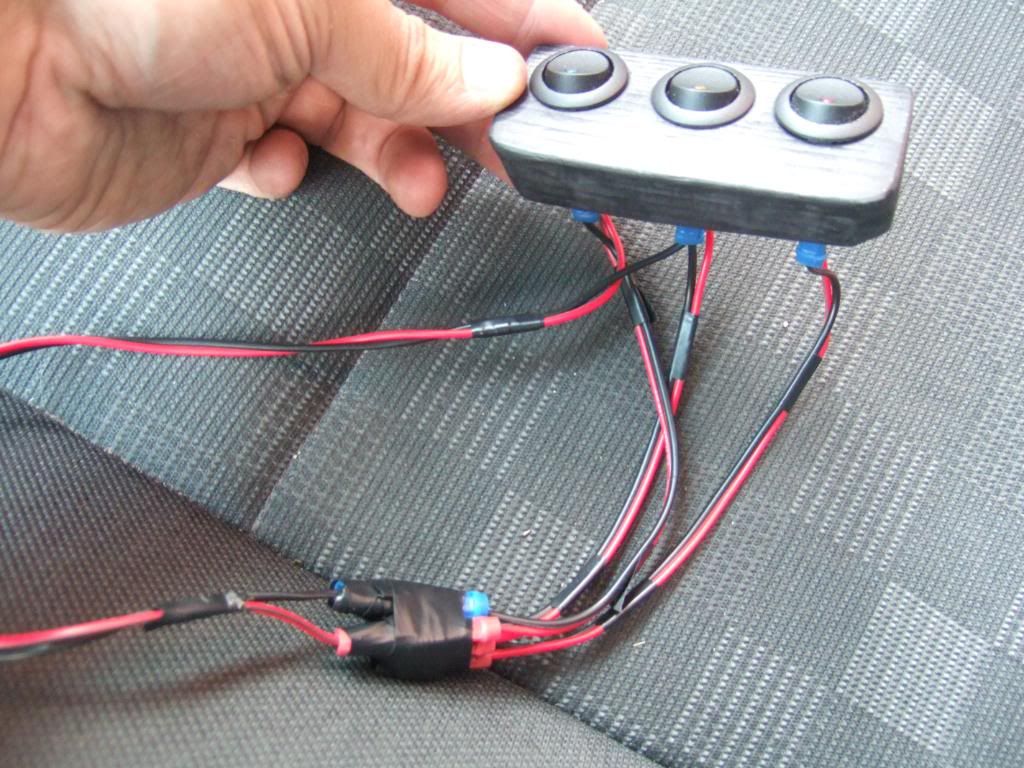
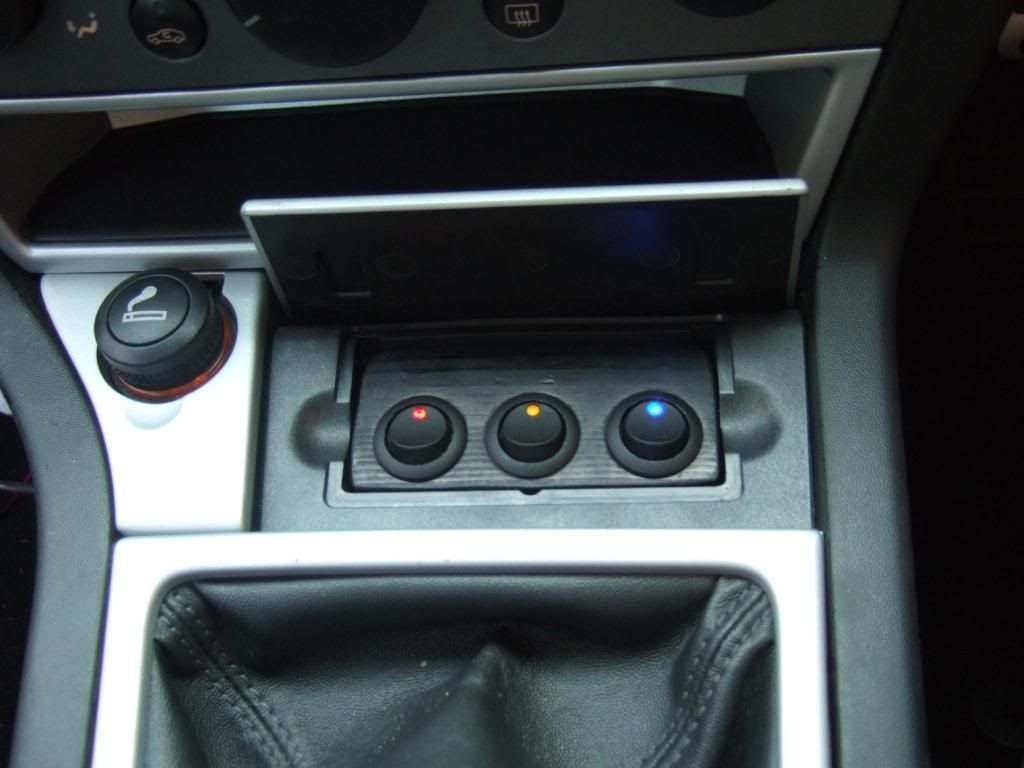
    Switches in all there glory... ON position


    Had a green switch too but the LED was so rubbish I used the orange instead...

    RED = not telling
    ORANGE = side lights
    BLUE = foglights


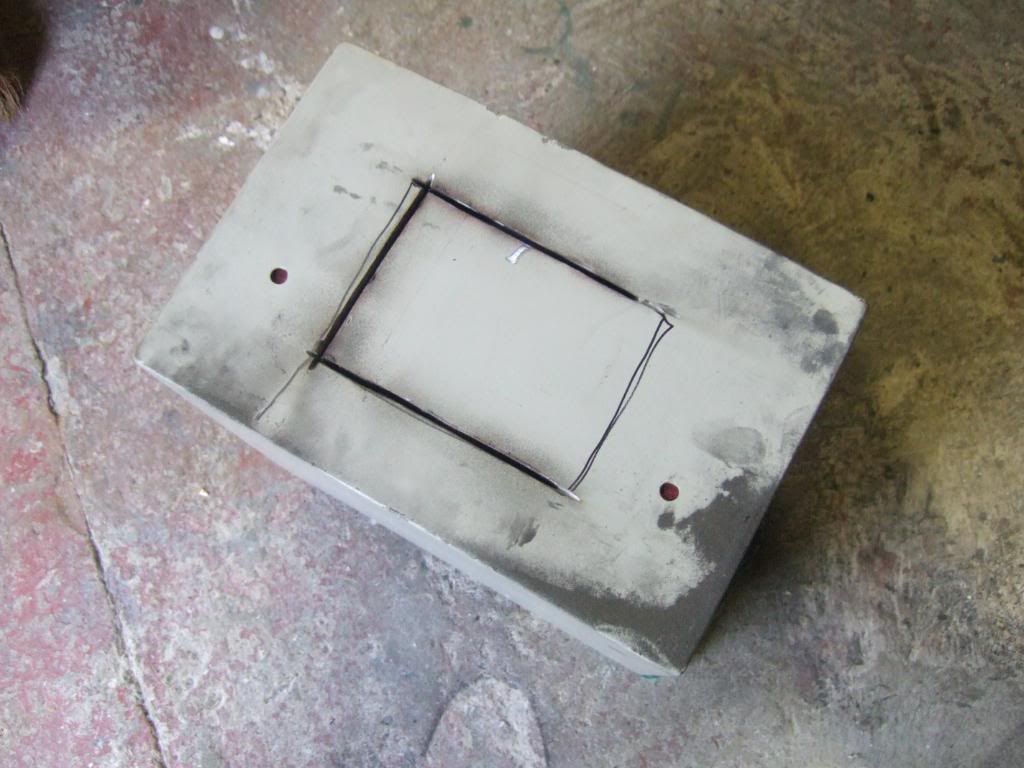
    Tomorrows plans are to fit these should be quite simple...


    Bottom of pic are Vec B side light holders, same fit a C but the c's where hard to find in the scrappy... Top are for the fogs. Going to drill a 10mm hole into the fogs and pop in place and twist lock just like the do for sidelights on the corsa i stole them off

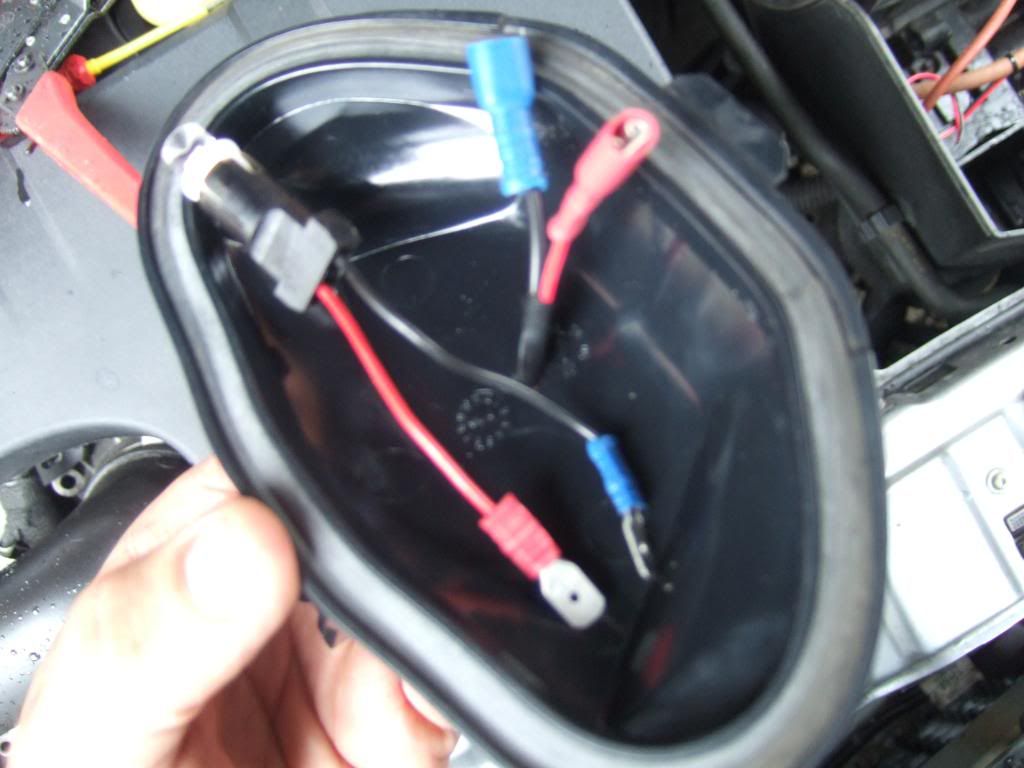
    Obviously its just a case of taking the live from each of the capped wires in the battery tray now, and then i can earth them next the the battery tray, loads of earth points in that wing...

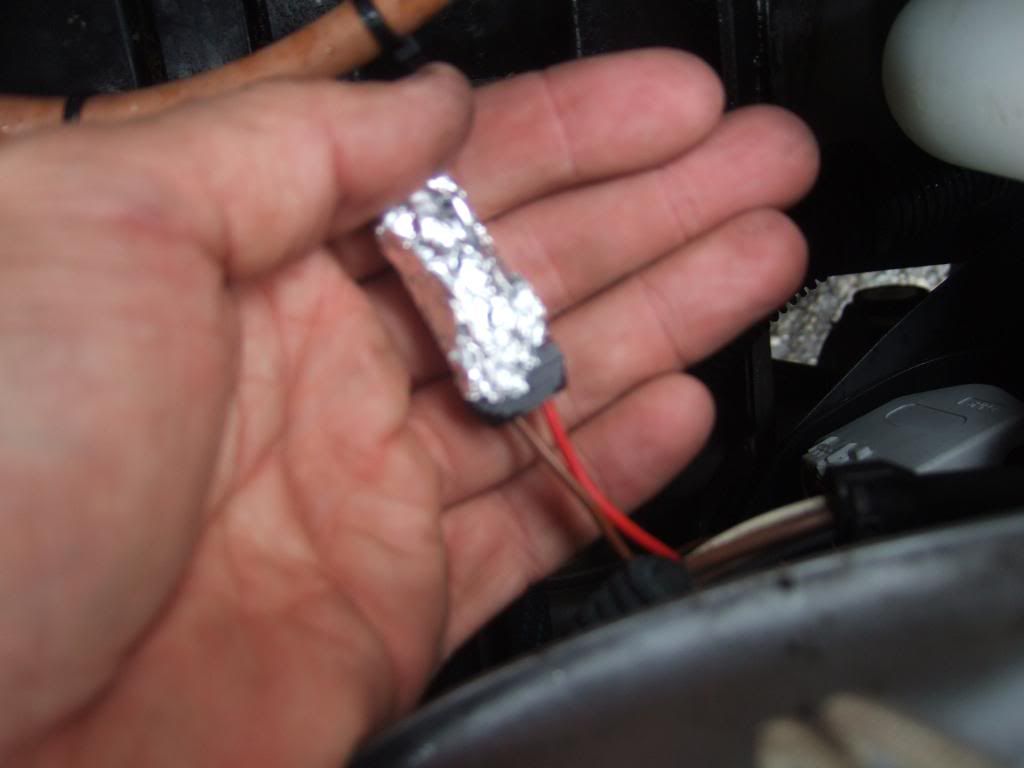
    The standard sidelight holders will remain in place inside the removable cap, but not in the hole, but i will cap them with tinfoil possibly or similar and tape them up... Will update more tomo...
    Last edited by Leemarksmith; 7th June 2010 at 20:28.

  2. #2
    Regular Member hairy31's Avatar
    Join Date
    Jun 2009
    Location
    bradford
    Post Thanks / Like
    Mentioned
    0 Post(s)
    Tagged
    0 Thread(s)
    Vehicle InfoStats


    Default

    top job Lee.........which i was as clever with electrics...everything I touch etc etc.......be watching this thread with interest

  3. #3
    Full Member Leemarksmith's Avatar
    Join Date
    Jun 2008
    Location
    Hanging Heaton
    Post Thanks / Like
    Mentioned
    35 Post(s)
    Tagged
    1 Thread(s)
    Vehicle InfoStats

    Vehicle : Vectra

    Trim : SRi (VXR Styling)

    Engine : Z19DTH (Re-mapped)

    Year : 04

    Mileage : 140k

    Default

    Just popped out for my chinese so took a quick video...

    1st on and off with the Headlight switch. Then sat locking/unlocking with the fob... The led's will do the same from the front of the car.

    http://www.youtube.com/watch?v=YZ6i6DTdBcQ

    Obviously the switches go out and no power going out if i flick them off manually... :thumb;
    Last edited by Leemarksmith; 7th June 2010 at 21:09.

  4. #4
    Regular Member kenp's Avatar
    Join Date
    Feb 2008
    Location
    Kr. Hyllinge, Denmark
    Post Thanks / Like
    Mentioned
    4 Post(s)
    Tagged
    0 Thread(s)
    Vehicle InfoStats

    Vehicle : Insignia

    Trim : Dynamic

    Engine : 1.6 turbo

    Year : 2019

    Mileage : 44000

    Default

    nice one..

    and just one note.. then it will also dim when/if you ajust the dash light on the knob.....

  5. #5
    Ex Vec-C Admin Deztroyer's Avatar
    Join Date
    Jan 2009
    Location
    WGAF#5
    Post Thanks / Like
    Mentioned
    0 Post(s)
    Tagged
    0 Thread(s)
    Vehicle InfoStats


    Default

    a great project and a fantastic job so far - well done mate - is the RED for the machine guns or an oil slick or maybe rotating number plates

    0-Large smile ......every time it's driven

  6. #6
    Full Member Leemarksmith's Avatar
    Join Date
    Jun 2008
    Location
    Hanging Heaton
    Post Thanks / Like
    Mentioned
    35 Post(s)
    Tagged
    1 Thread(s)
    Vehicle InfoStats

    Vehicle : Vectra

    Trim : SRi (VXR Styling)

    Engine : Z19DTH (Re-mapped)

    Year : 04

    Mileage : 140k

    Default

    Quote Originally Posted by kenp View Post
    nice one..

    and just one note.. then it will also dim when/if you ajust the dash light on the knob.....
    Yeah i know, but its always on full... I like the dash lights on even when sunny and i always put my headlights on even during the day by habit


    Quote Originally Posted by deztroyer View Post
    a great project and a fantastic job so far - well done mate - is the RED for the machine guns or an oil slick or maybe rotating number plates
    Bare with me, but underground neon kit

    But not the chav kind, i'm going to run some SMD strips like these...
    http://cgi.ebay.co.uk/NEW-120-cm-WHI...item4aa1d1824f
    just under the front bumper along the side skirts... There quite dull so will just glow the floor up like the rear plate LED's do... Its mainly for the Fob and unlock, wont be using them when driving...

  7. #7
    Regular Member kenp's Avatar
    Join Date
    Feb 2008
    Location
    Kr. Hyllinge, Denmark
    Post Thanks / Like
    Mentioned
    4 Post(s)
    Tagged
    0 Thread(s)
    Vehicle InfoStats

    Vehicle : Insignia

    Trim : Dynamic

    Engine : 1.6 turbo

    Year : 2019

    Mileage : 44000

    Default

    Quote Originally Posted by leemarksmith View Post
    Yeah i know, but its always on full... I like the dash lights on even when sunny and i always put my headlights on even during the day by habit
    On full.. also at night... i find that way to bright.. mine is on like half... (also ahve dash lights on.. but due to DRL, but might turn that off...)

  8. #8
    Full Member Leemarksmith's Avatar
    Join Date
    Jun 2008
    Location
    Hanging Heaton
    Post Thanks / Like
    Mentioned
    35 Post(s)
    Tagged
    1 Thread(s)
    Vehicle InfoStats

    Vehicle : Vectra

    Trim : SRi (VXR Styling)

    Engine : Z19DTH (Re-mapped)

    Year : 04

    Mileage : 140k

    Default

    RIGHT... Leading on from yesterday (even tho weather was rubbish today )

    After feeding the power into the battery tray i needed to make up 2 similar looking looms for the Side Lights and Fogs... Shorter wire runs to the N/S lights, Longer to the O/S lights...


    Drilled a small hole into the bulb cover just tight enough for the wires to slide in...


    Then fed the wires through and crimped on the wire connectors ready to except the new side light bulb holders...


    Old bulbs and holders remain connected but i capped them in tinfoil and duct tape so that you dont get bulb warning errors - If you get errors in the future its these you'd need to change...


    The capped bulbs easily fit behind here... and the hole is ready for the new ones


    To do the drivers O/S i cable tied the wires along the top using the holes for the Bonnet cable and Air Feed... pulled out slightly to see...


    Was going to Earth the wires on the wing but it was a lot easier to go straight to the battery as i would have had to remove the fuse box to get in...


    Looks neat anyway... Colour coded too incase anything needs replacing later... yellow is for side lights = orange interior switch / Blue for fogs + blue interior switch..


    Did the Fog lights in the exact same way, but run the wire inside the loom in the lower bumper...


    .................................................. .................................................. .................................................. .................................................. ........


    Started to really rain heavy so knocked up some more wires in the house for the boot lights... And fitted to the Boot light (which is being kept)


    Not the neatest as started to rush with the rain ... I have bought these 48cm LED strips.
    http://cgi.ebay.co.uk/ws/eBayISAPI.d...ht_2522wt_1137
    Where there going is in the pic below - one each side. Once the supports are chiselled out on the parcel shelf supports they'll fit flush and up inside with 3 cm chopped off


    .................................................. .................................................. .................................................. .................................................. ........


    Weather got better so I could get back under the car. The drilling though the fog light casing went out the window after lots of head sctratching and worried i'd crack the glass casing... So i did the same as the sides lights, drilled the fog light caps with the wire connectors on the inside... Just soldered the wires to the bulbs as the original holders i had planned to use where way to big...


    Then it is just a case of removing the fog bulb and popping these in, then slide the LED's to the back and put the bulb back in...

    I'll take some photo's of the car in a bit, was still daylight when took all these above... Works really well, and when the fogs are turned on the LED's cant be seen. Should keep me on the right side of the law


    Oh and after all this was going on I realised i needed my passport pretty soon for our hols, I'd left mine in my electronic safe but the batteries had died... And like the clever guy i am i kept the override power pack and keys safe, In the safe.... sorted it quite quickly however with a special "grinding" key


    Another very productive day...
    Last edited by Leemarksmith; 8th June 2010 at 21:33.

  9. #9
    Regular Member slick91's Avatar
    Join Date
    Jul 2009
    Location
    Newcastle
    Post Thanks / Like
    Mentioned
    0 Post(s)
    Tagged
    0 Thread(s)
    Vehicle InfoStats


    Default

    looking good so far but jesus how much work lol

  10. #10
    Full Member Leemarksmith's Avatar
    Join Date
    Jun 2008
    Location
    Hanging Heaton
    Post Thanks / Like
    Mentioned
    35 Post(s)
    Tagged
    1 Thread(s)
    Vehicle InfoStats

    Vehicle : Vectra

    Trim : SRi (VXR Styling)

    Engine : Z19DTH (Re-mapped)

    Year : 04

    Mileage : 140k

    Default

    Quote Originally Posted by slick91 View Post
    looking good so far but jesus how much work lol
    Its only because of the switches and the fogs... I reckon i could wire just the side lights up ( switchless ) within 20 mins

Page 1 of 3 123 LastLast

Thread Information

Users Browsing this Thread

There are currently 1 users browsing this thread. (0 members and 1 guests)

Similar Threads

  1. what i have done so far lots of pics
    By smartalec0310 in forum Styling
    Replies: 16
    Last Post: 22nd May 2012, 21:35
  2. LED sidelights fitted (Pics)
    By lee gsi in forum Electrical & ICE (including SatNav)
    Replies: 8
    Last Post: 2nd September 2010, 21:37
  3. the outside is finnaly done wwwwooo(lots of pics)
    By bigron1988 in forum Gallery
    Replies: 91
    Last Post: 15th January 2009, 23:33
  4. Replies: 19
    Last Post: 12th November 2007, 10:20
  5. pics of the SRi, finally! lots of pics
    By Kam B in forum Gallery
    Replies: 8
    Last Post: 6th February 2007, 10:54

Visitors found this page by searching for:

https:www.vectra-c.comforumshowthread.php112369-Running-LED-sidelights-fogs-No-Errors-lots-of-pics

what colour is sidelight live on vectra c

side light wiring Vectra

Bookmarks

Posting Permissions

  • You may not post new threads
  • You may not post replies
  • You may not post attachments
  • You may not edit your posts
  •